www.PCJRIBM.com
www.PCjrIBM.com
IBM PC JR
IBM PCjr

How - To
How - To
Charles L. Terra Ph.D.
USAF Veteran
USAF Veteran
Charles L. Terra Ph.D.
USAF Veteran
USAF Veteran
>>>>>FORUM<<<<<
>>>>>FORUM<<<<<
JRIDE
Building up a JRIDE with hard drive, fan and LED in a 3D Printed Side Car
Building up a JRIDE with hard drive, fan and LED in a 3D Printed Side Car
Parts used for this build !
-JRIDE Rev 'C' board
-Samsung HM031HC 2.5" hard drive / 2mm connector
-44pin - 2mm cable about 4 inches
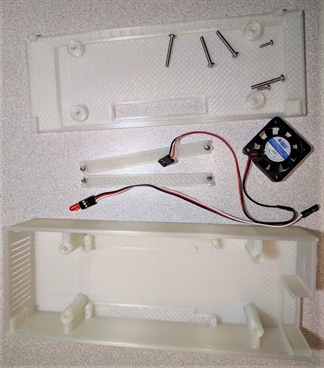
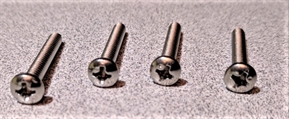
-3D printed case , screws
- LED and cable , Fan 40x40x10mm 12Vdc
( case 3D files are located on the FORUM for download )
-JRIDE Rev 'C' board
-Samsung HM031HC 2.5" hard drive / 2mm connector
-44pin - 2mm cable about 4 inches
-3D printed case , screws
- LED and cable , Fan 40x40x10mm 12Vdc
( case 3D files are located on the FORUM for download )
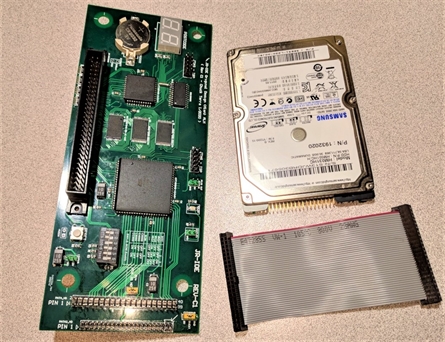
the cable is attached to the hard drive as shown, note PIN 1 (RED wire)
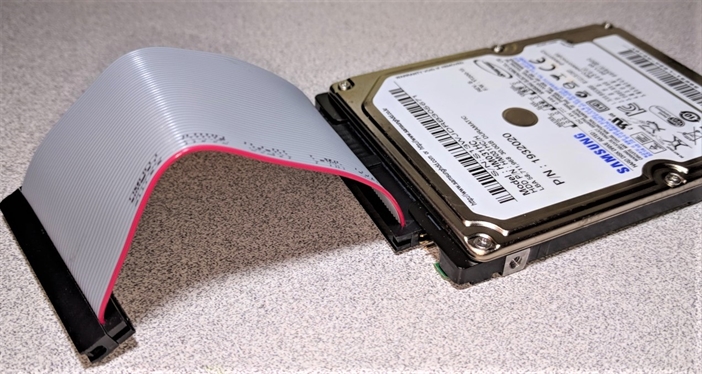
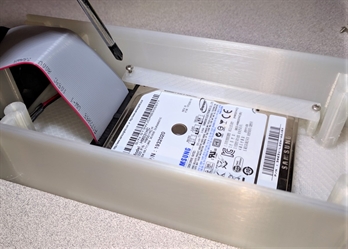
the drive will sit in the 3D case oriented as shown

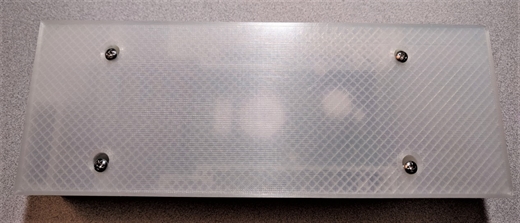
using the side rails, install on both sides to hold the hard drive in place
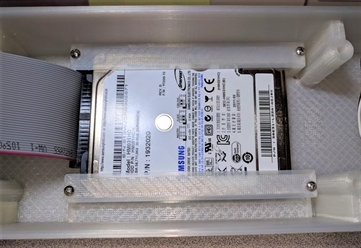
all four screws installed with side rails shown.
all four screws installed with side rails shown.
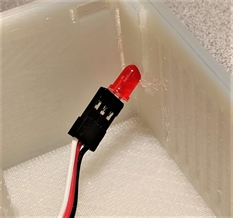
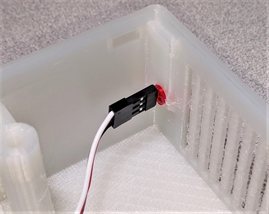
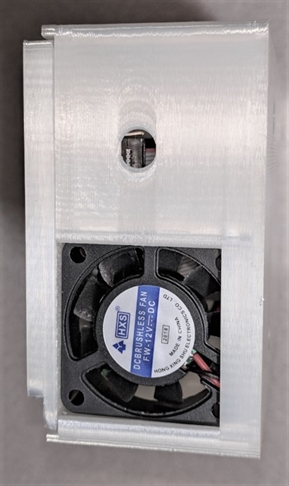
install the LED and cable, the cable used has 3 postions but any 2 position will work, this was on hand so I used it.
CUT the legs of the LED to fit into the connector.
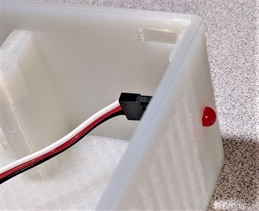
Press fit the LED into the 3D case, this is a snug fit.
CUT the legs of the LED to fit into the connector.
Press fit the LED into the 3D case, this is a snug fit.
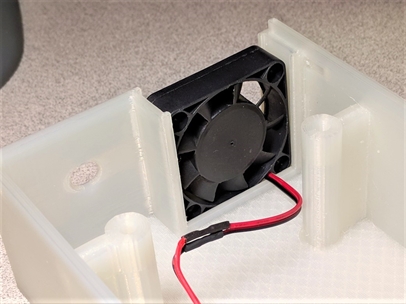
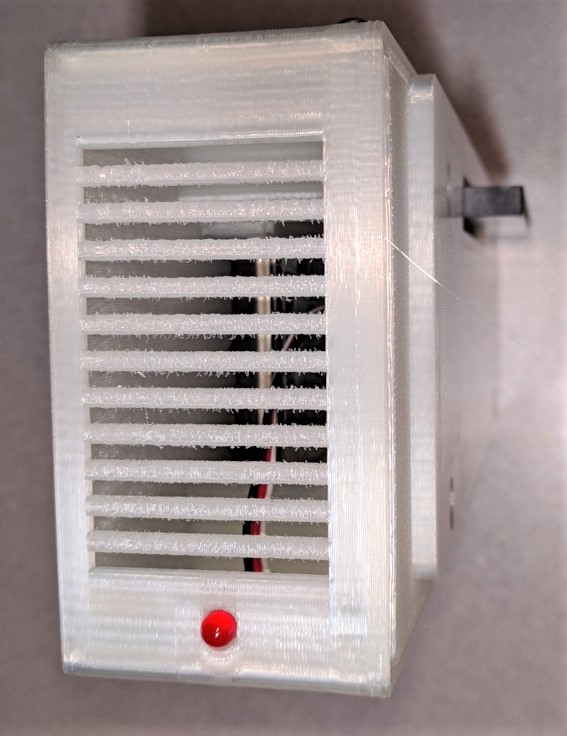
install the fan as shown this allows air to be pulled from the front of the case across the hard drive and exits the back of the case
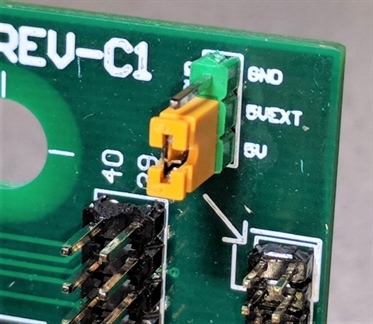
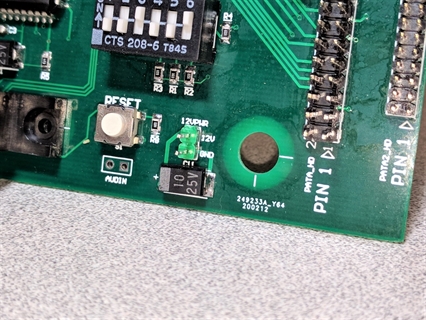
Notes on the JRIDE board:
Install the power jumper that supplies 5VD to the hard drive thru the 44pin cable.
Also note the 12VDC power connector and the pin orientation, this is for the FAN connector.
Lastly, note the PIN1 position on the hard drive headers.
Install the power jumper that supplies 5VD to the hard drive thru the 44pin cable.
Also note the 12VDC power connector and the pin orientation, this is for the FAN connector.
Lastly, note the PIN1 position on the hard drive headers.
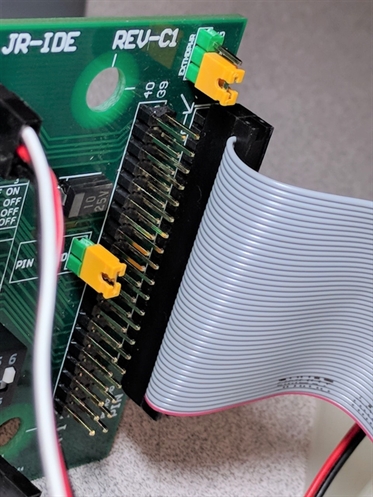
Connect the hard drive cable to the 2mm connector as shown, observing PIN 1 orientation.
Connect the LED and FAN connections as shown, OBSERVE the polarity.
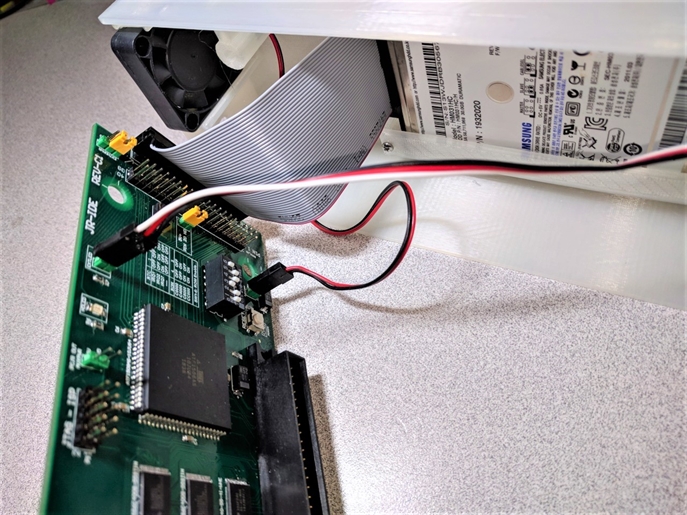
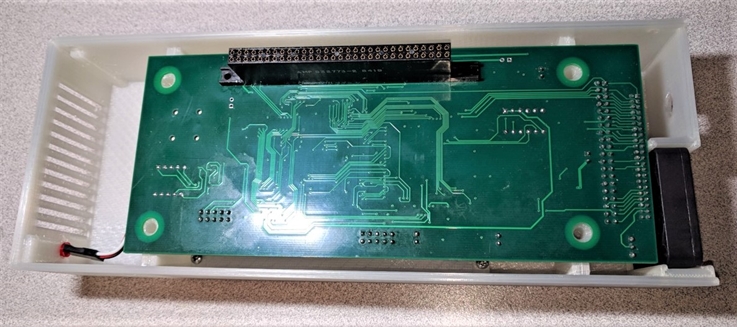
Fold the hard drive cable so it lays as shown and tucks under the board, and position the LED and Fan cables so they do not interfere with the FAN, just keep them off under the JRIDE Board.
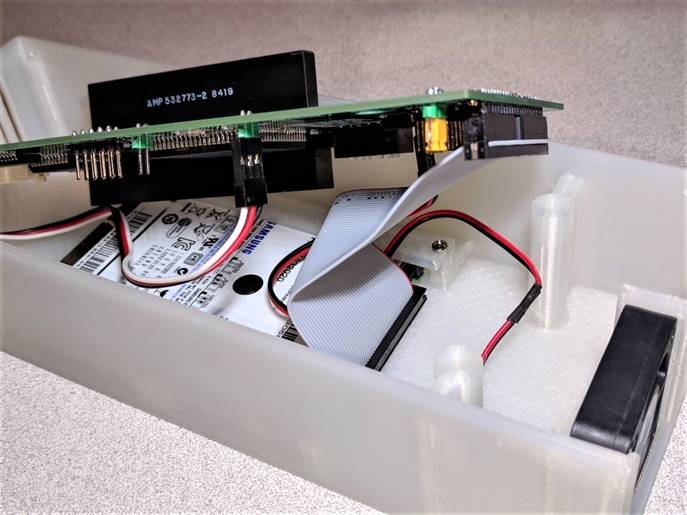
Press the JRIDE board gently into the case and align the holes as best you can to put the back
of the case on. Ensure the holes are aligned when you snap the back panel on.
You may need to play with this a bit.
of the case on. Ensure the holes are aligned when you snap the back panel on.
You may need to play with this a bit.
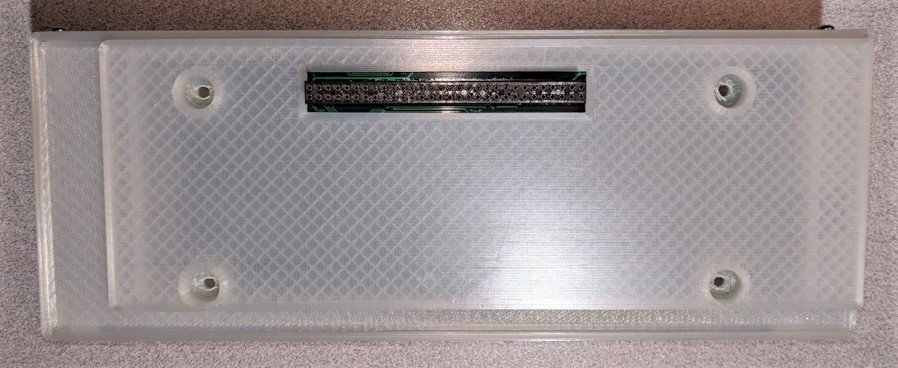
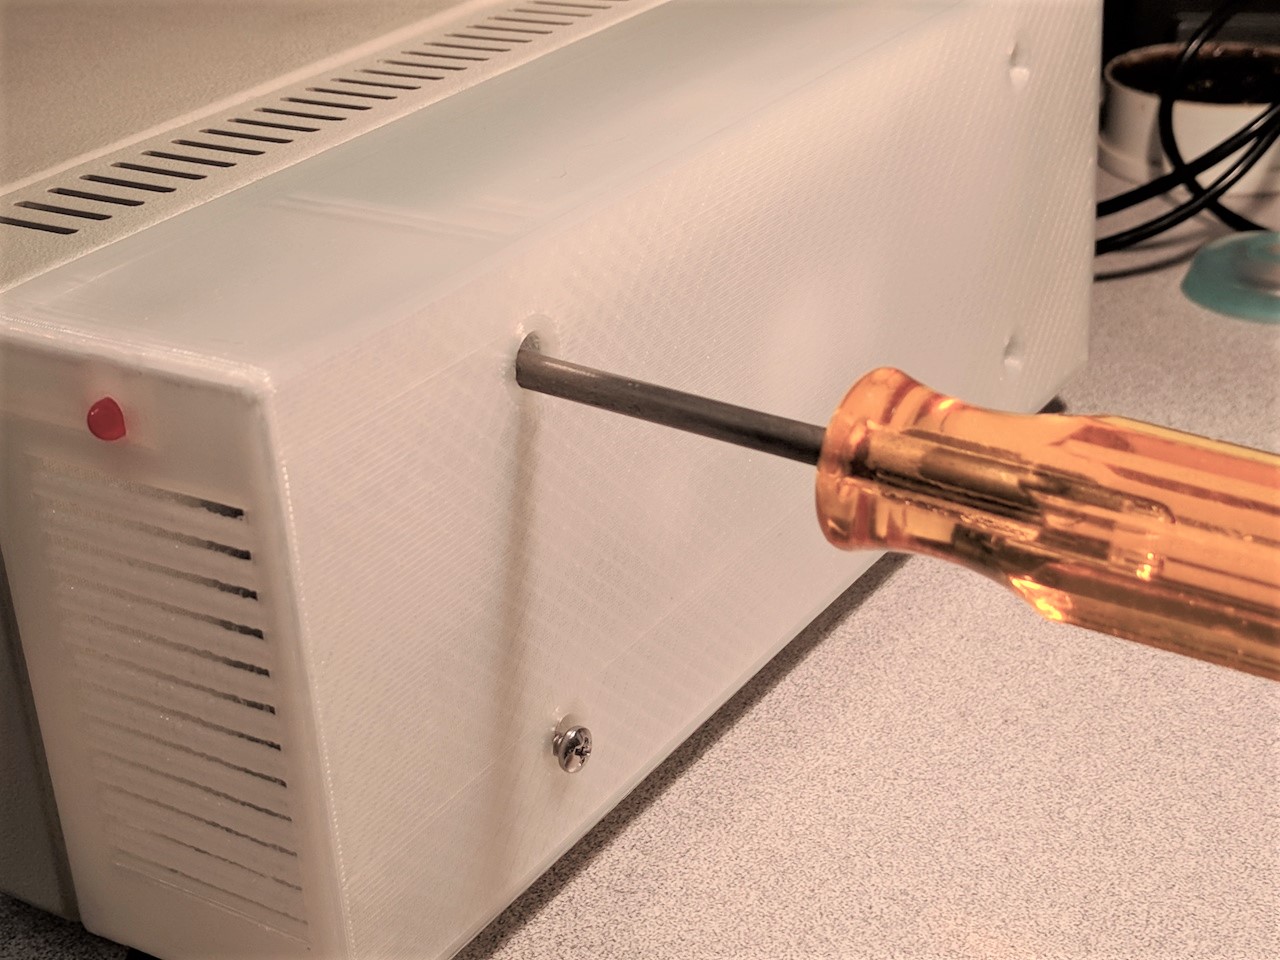
To complete the case build, install the two side screws to hold the back panel in place
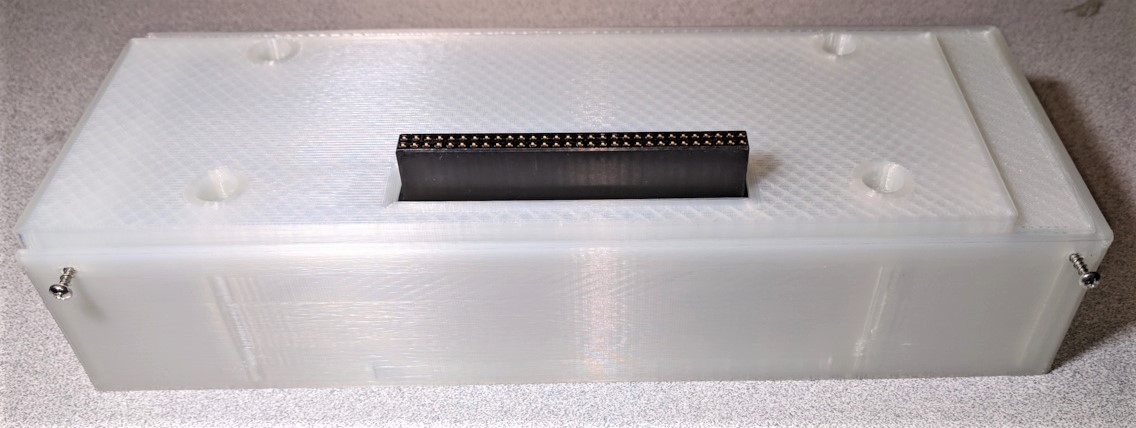
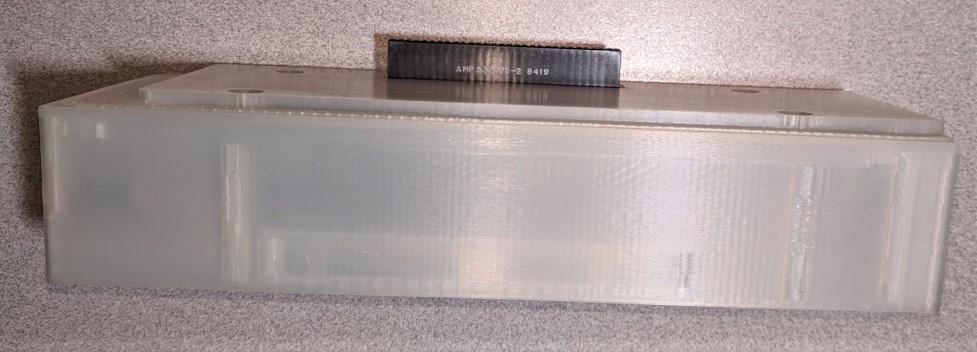
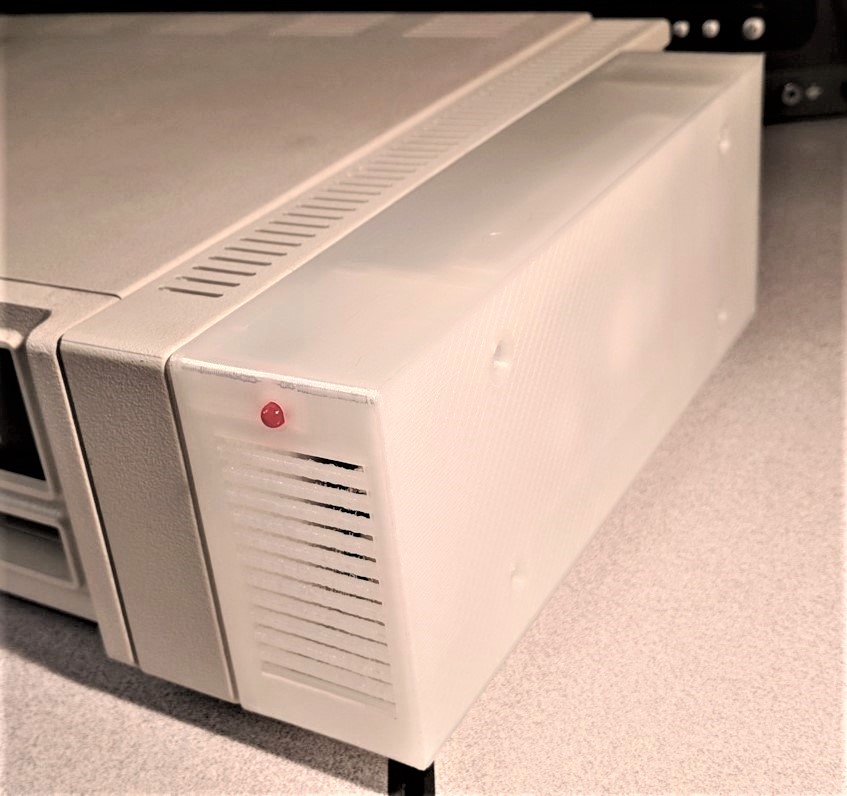
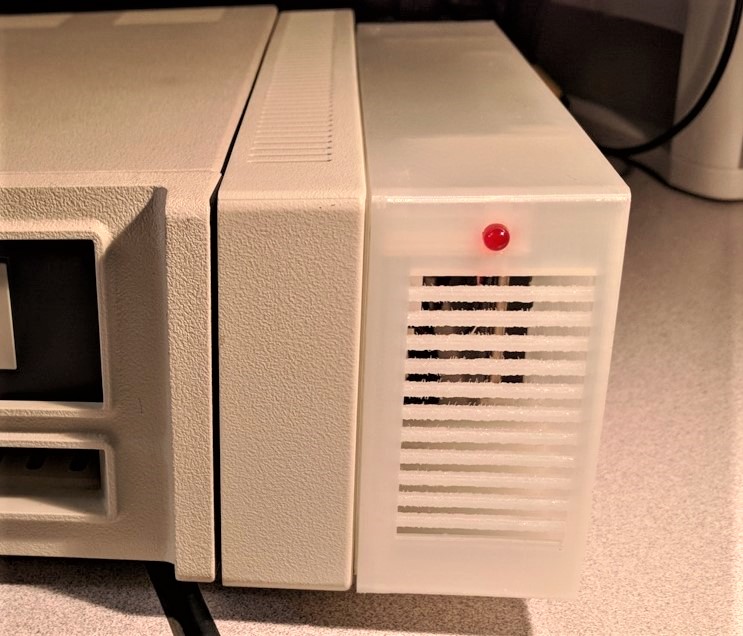
Here are some views of the finished case build

I used #6-32 1" screws to hold the case to the side of the PC JR computer. These are so much
easier to screw in with a standard #2 phillips drive.
Since the case is deep, you cannot place another side car onto this case, so it has to be the
outter most case. If you are using a parallel port side car, it must be installed first.
easier to screw in with a standard #2 phillips drive.
Since the case is deep, you cannot place another side car onto this case, so it has to be the
outter most case. If you are using a parallel port side car, it must be installed first.
Install your parallel port side car first (if used) then align the JRIDE Case and press fit as you would with any other side car. It will snug fit as the connector is pressed into place.

Using a #2 phillips, simply install the 4 screws to hold the side car in place. DO NOT OVERTIGHTEN !
Install is finished !
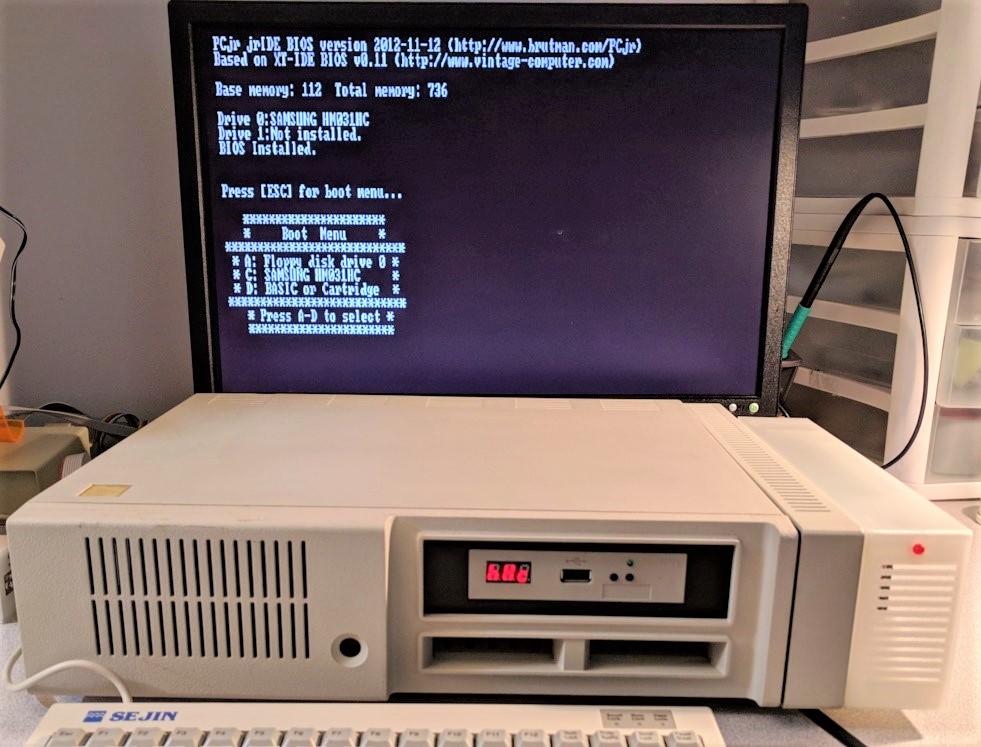
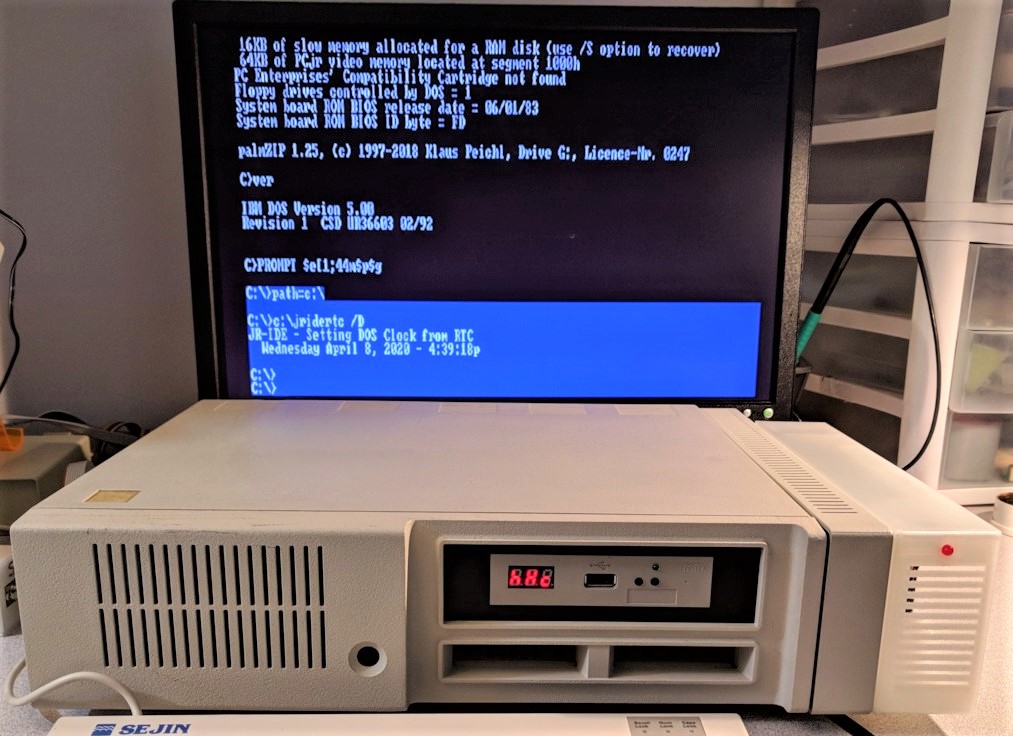
SYSTEM BOOT UP SCREENS